Ever tried to record your favorite Spotify tracks with Audacity, only to end up with silence, weird audio glitches, or files that sound like they were recorded underwater? You’re not alone. I’ve been there myself, spending hours tweaking settings and wondering why something that sounds so simple turns into a technical nightmare.
The truth is, recording Spotify with Audacity can work, but it’s not as straightforward as most tutorials make it seem. There are compatibility issues, quality concerns, and some pretty annoying limitations that nobody talks about upfront.
In this guide, I’ll walk you through everything you need to know about recording Spotify music with Audacity – the good, the bad, and the alternatives that might save you a lot of headaches.
In This Article:
Can You Actually Record Spotify with Audacity?

Here’s the deal: Audacity can’t directly import Spotify tracks because of DRM (Digital Rights Management) protection. Think of DRM like a digital lock that only Spotify has the key to. What Audacity can do is record whatever audio is playing through your computer’s speakers – kind of like holding a microphone up to your radio.
This means you’re not getting the original file quality. You’re getting a recording of a recording, which always means some quality loss. Not gonna lie, this was disappointing when I first figured it out.
The legal stuff matters too. Recording for personal use? Generally fine. Planning to share or sell those recordings? That’s where you run into trouble with Spotify’s terms of service. I’m not a lawyer, but I’d stick to personal use only.
The bigger issue is that most people expect this to work like downloading a file. It doesn’t. You’re recording in real-time, which means a 3-minute song takes 3 minutes to capture. Plus, any system sounds, notifications, or interruptions will end up in your recording.
Why Your Audacity Setup Keeps Breaking (And How to Fix It)

Getting Audacity configured properly is where most people hit their first wall. The settings that worked in 2020 don’t always work the same way in 2025, especially on Windows.
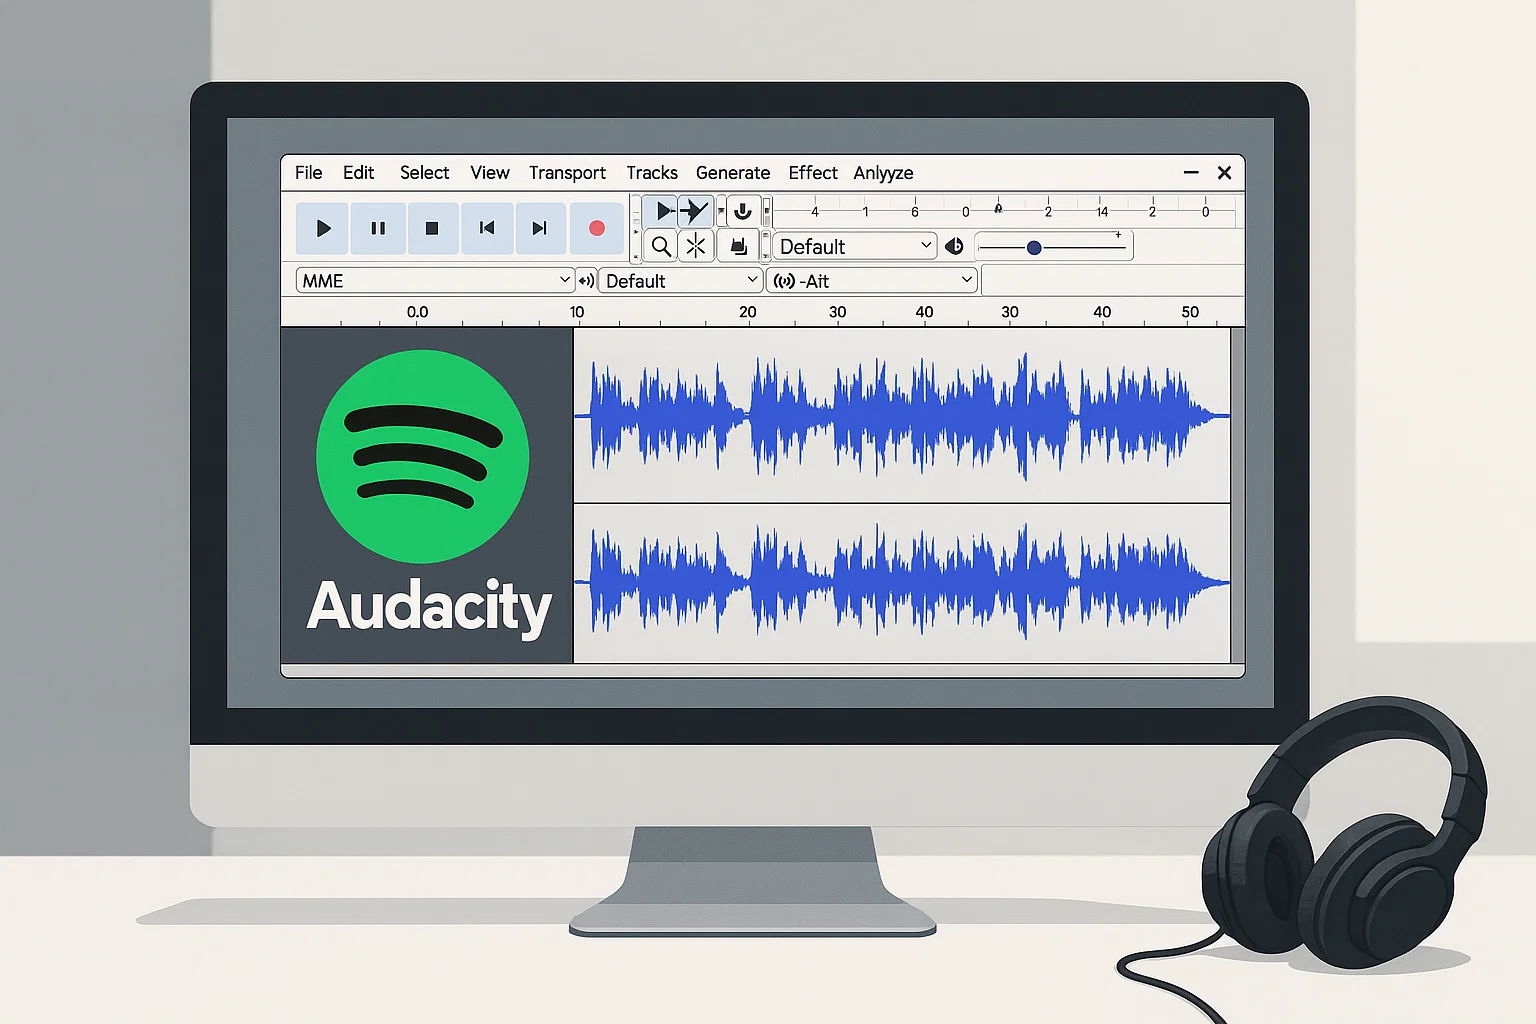
For Windows users, you’ll want to set your audio host to “Windows WASAPI” in Audacity’s preferences. But here’s something I learned the hard way: recent Windows updates have made WASAPI more finicky. If you’re getting no audio or weird crackling sounds, try switching to “MME” first, then back to WASAPI. Sometimes that kicks it into working properly.
Mac users have it tougher. macOS doesn’t let you record internal audio by default, so you’ll need a third-party tool like BlackHole or Loopback. BlackHole is free but requires some terminal commands to set up properly. Loopback costs money but works right out of the box.
Linux users – you probably already know this is going to involve PulseAudio or ALSA configuration. The good news is once you get it working, it tends to stay working.
One quick tip that saved me hours of frustration: always test your setup with a short recording first. Play a 30-second clip and make sure you’re actually capturing audio before committing to recording an entire playlist.
💡 Quick Tip: Before recording anything important, test with a 30-second clip first. This simple step can save you hours of troubleshooting later.
The Recording Process That Actually Works
Once your setup is working, the actual recording process is pretty straightforward. But there are some tricks that make a huge difference in your results.
Before you hit record, close everything else. Seriously. That Discord notification or Windows update sound will end up permanently embedded in your recording. I learned this after recording a perfect 4-minute song with a random “ding” right in the middle of the chorus.
⚠️ Warning: System notifications, email alerts, and other software sounds will be permanently recorded into your audio files. Close all unnecessary programs before starting.
Start Audacity recording first, then play your Spotify track. Watch the waveform to make sure audio is being captured – you should see the green bars moving and waveforms appearing in real-time.
Here’s a pro tip: Set your Spotify volume to about 80-90%, not maximum. Maxed-out volume can cause clipping and distortion in your recording. Your computer’s master volume can be lower since you’re recording the internal audio stream.
For playlist recording, you’ll need to babysit the process. Audacity will keep recording through track changes, but you’ll need to manually split the tracks later or stop and start for each song.
💡 Success Story: One user I helped managed to record a 2-hour jazz playlist by setting up a dedicated recording session on a weekend morning. He closed all other programs, put his phone in airplane mode, and let it run while doing other activities nearby. The result? Clean recordings with minimal interruptions.
Why Most People Struggle with Audacity Recording
Let me be honest about something most tutorials won’t tell you: Audacity recording from Spotify is kind of a pain. I’ve helped friends set this up, and here are the five most common problems they run into:
Audio driver conflicts are the biggest headache. Windows especially likes to switch audio drivers randomly, breaking your carefully configured setup. One day it works perfectly, the next day you get silence.
Quality loss is unavoidable. You’re essentially making a copy of a copy. Even with perfect settings, you’re losing some of the original audio quality. It’s not terrible, but audiophiles will notice.
Time investment is huge. Recording in real-time means a 1-hour playlist takes… 1 hour to record. Plus editing time. Plus the inevitable re-recording when something goes wrong.
System compatibility issues pop up constantly. New Windows updates, driver changes, or even other software installations can break your setup without warning.
Spotify ads ruin everything. If you’re using free Spotify, those ads will be permanently recorded into your files unless you manually edit them out later.
This is where I started looking for alternatives, and honestly, I wish I’d found Cinch Audio Recorder sooner. Instead of fighting with Audacity’s complex setup, Cinch just works. One click and it starts recording from any streaming service – Spotify, Apple Music, Amazon Music, whatever you’re playing.

The best part? It automatically handles the technical stuff. No driver configuration, no audio routing, no wondering if your settings are right. It even filters out ads automatically if you’re using free Spotify, which alone saves hours of editing time.
Cinch also grabs song metadata and album artwork automatically, so your files are properly organized from the start. With Audacity, you’d have to add all that information manually for every single track.
Audacity vs Cinch Audio Recorder: Quick Comparison
| Feature | Audacity | Cinch Audio Recorder |
|---|---|---|
| Setup Complexity | ❌ Complex driver configuration | ✅ One-click setup |
| Recording Speed | ❌ Real-time only | ✅ Real-time recording |
| Ad Filtering | ❌ Manual editing required | ✅ Automatic ad removal |
| Metadata | ❌ Manual entry | ✅ Auto ID3 tags & artwork |
| Multi-Platform | ✅ Windows/Mac/Linux | ✅ Windows/Mac |
| Price | ✅ Free | 💰 $25.99 |
Download Cinch Audio Recorder:


Pro Editing Tricks That Make a Huge Difference
If you do stick with Audacity, here are some editing tricks that’ll make your recordings sound much better.
The Envelope Tool is your friend. Most people ignore it, but it’s perfect for smoothing out volume inconsistencies. You can gradually increase volume during quiet parts and reduce it during loud sections without making it sound obviously edited.
Noise Reduction works, but don’t overdo it. Audacity’s noise reduction can clean up background hum and system noise, but too much makes vocals sound robotic. I usually keep it under 12dB reduction.
For batch processing, use Audacity’s Chain feature (now called Macros). You can set up a sequence of effects and apply them to multiple files at once. Super useful if you’ve recorded an entire album and want consistent processing across all tracks. If you’re interested in making ringtones from your recordings, check out our guide on how to make a ringtone from a Spotify song.
Export settings matter more than you think. For most purposes, 192kbps MP3 is fine, but if you’re planning to do more editing later, export as WAV first to avoid additional quality loss.
Expert Tip: “When recording from streaming services, always export to an uncompressed format first, then convert to your desired format later. This preserves maximum quality for future editing.” – Audio Engineering Forums
When Everything Goes Wrong (And How to Fix It)
“I’m getting no audio at all” – This is usually a driver issue. Try switching between WASAPI and MME in Audacity’s preferences. Also check that your recording device is set to your speakers or “Stereo Mix,” not your microphone.
“The audio sounds distorted or clipped” – Your input levels are too high. Lower the volume in Spotify and check that your recording levels in Audacity aren’t hitting the red zone.
“There’s a delay between video and audio” – This happens with some WASAPI setups. Try enabling “Exclusive Mode” in your Windows sound settings, or switch to MME if the delay is really bad.
“Audacity crashes during long recordings” – This is usually a memory issue. Try recording shorter segments, or increase Audacity’s temporary file directory to a drive with more space.
“My recordings have gaps or skips” – Your computer can’t keep up with real-time recording. Close other programs, disable Wi-Fi scanning, and make sure you’re not running other audio software simultaneously.
Wrapping Up
Look, Audacity can record Spotify music, but it’s not the smooth experience most people expect. Between the setup headaches, quality compromises, and time investment, it’s more of a technical exercise than a practical solution.
If you’re doing this for learning purposes or you enjoy the technical challenge, go for it. But if you just want to save some music for offline listening or editing projects, dedicated tools like Cinch Audio Recorder will save you hours of frustration and give you better results. You might also want to check out our guide on Spotify rippers for more alternatives.
Whatever route you choose, start with short test recordings before committing to full albums. Trust me on this one – there’s nothing worse than “recording” for an hour only to discover you captured nothing but silence.
FAQ
Is recording Spotify with Audacity legal?
For personal use, it’s generally considered fair use, but distributing or selling recorded content violates Spotify’s terms of service.
Can Spotify detect when I’m recording?
No, Spotify can’t detect Audacity recording since it only captures your computer’s audio output, not interacting with Spotify directly.
What’s the best audio quality setting for recording?
Use 44.1kHz sample rate with 16-bit depth for good quality without huge file sizes, or 24-bit if you plan extensive editing.