You’ve just set up your first stream. Everything looks perfect—overlays, alerts, and your mic. You open Spotify, press play on your favorite playlist, and go live.
Later, you watch the VOD.
Silence. Long 30-minute sections with no audio at all. Not just the music—your voice is gone too.
That’s exactly what happened to me three weeks into streaming. Twitch’s automated copyright system muted my entire VOD because Spotify was playing in the background. Even Spotify Premium didn’t prevent it.
Here’s how to properly add Spotify to Streamlabs without ruining your content.
In This Article:
Understanding the Basics – Why This Isn’t Simple
Most streamers assume Spotify “just works” with Streamlabs OBS. It doesn’t.
Three problems:
Technical: Streamlabs won’t automatically capture Spotify audio like it does game sounds. You need to manually route it through Audio Output Capture or Application Audio Capture.
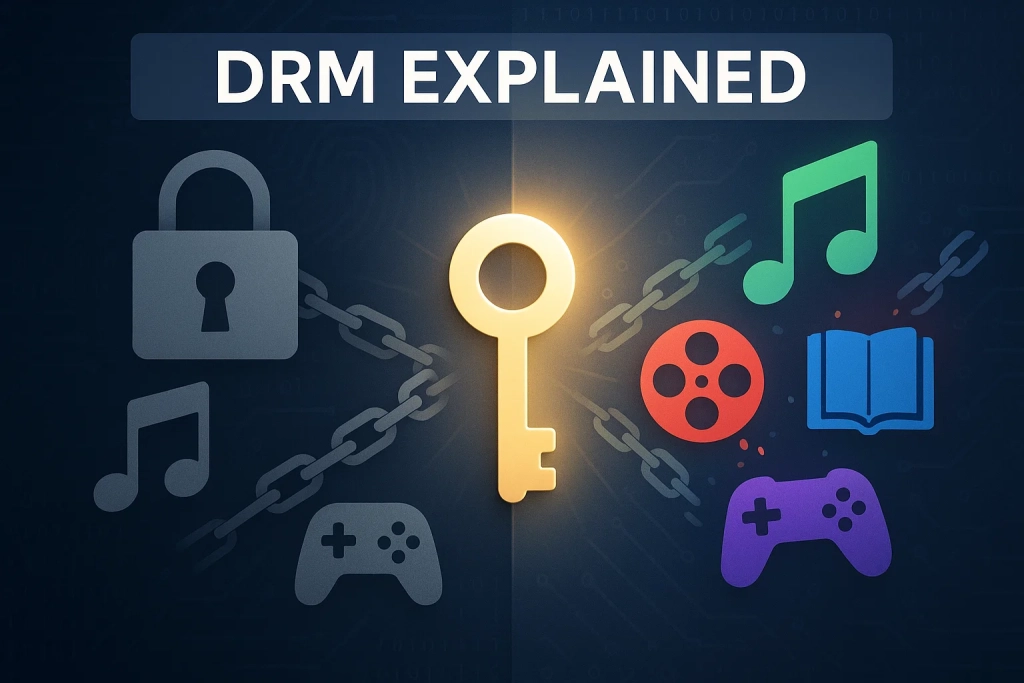
DRM: Spotify encrypts its streams. Regular screen capture doesn’t grab the audio—you need specific audio routing.
Copyright: This is the big one. Spotify Premium gives you listening rights, not broadcasting rights. When you stream to viewers—even just five people—you’re publicly performing copyrighted music. Spotify’s license doesn’t cover that.
I thought Premium protected me. It doesn’t. Twitch muted my VOD anyway.
The Copyright Risk
DMCA on Twitch works two ways:
- Automatic VOD muting – Twitch’s system detects copyrighted music and silences sections of your VOD. Annoying, not dangerous.
- Copyright strike – Rights holders file a takedown. Three strikes = permanent ban.
The muting is aggressive. It doesn’t just remove music—it often kills your entire audio track, including your voice. I lost commentary on a 20-minute tutorial because the detection system nuked everything.
Worse: deleting the VOD doesn’t erase the strike. It stays on your account for 90 days.
I’ll show you how to separate audio tracks later so music doesn’t touch your VOD.
Method 1 – Direct Spotify Integration (Window + Audio Capture)
Windows 11 broke Desktop Audio for a lot of people. When I upgraded, Streamlabs just showed “Disable” under audio settings. No other options.
The fix: Application Audio Capture (Beta).
Capturing Spotify Audio
Here’s the setup:
- In Streamlabs, go to Sources → Add → Application Audio Capture (Beta).
- Name it “Spotify Audio.”
- Under “Window,” select Spotify.exe.
- Click “Done.”
Spotify should now appear in your mixer panel.
If you don’t see audio bars moving:
- Restart Spotify (fully close it via Task Manager)
- Check Spotify isn’t muted in the app
- Try switching Spotify’s audio device in settings
Common mistake: Adding Window Capture and assuming audio is included. It’s not. Window Capture only shows visuals—you still need Application Audio Capture for sound.
Test this before going live. Seriously. Don’t discover it’s broken mid-stream.
Balancing Audio Levels
In your mixer panel, adjust levels so music doesn’t drown your voice:
- Spotify: -15dB to -20dB (background level)
- Mic: -6dB to -10dB (primary audio)
- Game audio: -10dB to -12dB (adjust per game)
Right-click any source → Advanced Audio Properties to fine-tune. You can also add a Compressor filter to even out volume spikes between songs.
Method 2 – Download and Import Spotify Music (The Copyright-Safe Way)
Playing Spotify live is convenient. Until your VOD gets muted.
Or a car insurance ad blasts mid-stream.
Two better options exist: download music beforehand, or use royalty-free sources.
Why Download Spotify Music?
Copyright control: Choose stream-safe tracks instead of risking DMCA strikes.
No ads: Free Spotify interrupts every few songs. Downloaded files don’t.
Offline reliability: No internet hiccups killing your background music.
The catch? Spotify’s app doesn’t let you export files. You need a recorder.
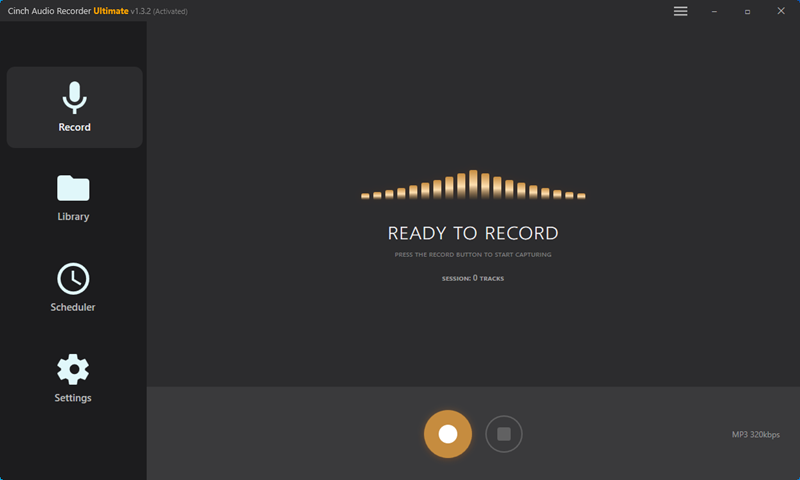
Using Cinch Audio Recorder
I tried Audacity (free but manual), NoteBurner ($39.95), and a few others. Landed on Cinch Audio Recorder because it automates the annoying parts. If you want to record from Spotify more broadly, there are other tested tools worth considering.
What it does:
🎵 Records Spotify in real-time – Captures to MP3 (320kbps) or lossless WAV/FLAC
🏷️ Auto-tags songs – Fills in title, artist, album, cover art automatically
🚫 Filters Spotify ads – One-click removal for free account recordings
🔇 Silent recording – Mutes your PC while still capturing audio
How I use it:
- Download from here
- Open Cinch → Hit Record
- Play your Spotify playlist
- Cinch auto-splits each song and saves separately
- Click Library to see all tracks with metadata
- Use Filter to remove ads if needed
I usually queue a long playlist overnight. Wake up to 40+ properly tagged tracks ready for streaming.
What I like:
- Interface is simple. No menu hunting.
- Ad filter works—catches ~95% of Spotify’s audio ads.
- Saves hours vs. manually tagging files in Audacity.
What’s annoying:
- Costs $25.99 (free trial available but limited)
- Occasional obscure track doesn’t auto-tag correctly (can edit manually)


If you only need a few songs, use free Audacity. Just expect to manually split tracks and add metadata yourself. You can also explore Spotify to MP3 conversion methods if you need more format options.
Importing to Streamlabs
Once downloaded:
- Sources → Add → Media Source
- Browse to your MP3 file
- Check Loop if needed
- Adjust volume in mixer
For playlists, you’ll need to manually swap sources or use VLC to create a playlist file. Streamlabs doesn’t support multi-file playlists natively, which is annoying.
Tip: Create a separate Scene Collection for music streams. Pre-load tracks as different Media Sources and toggle as needed.

Alternative Tools
| Tool | Price | Key Feature | Best For |
|---|---|---|---|
| Cinch Audio Recorder | $25.99 | Auto-tagging + ad filter | Automation |
| NoteBurner | $39.95 | Batch conversion | Large libraries |
| ViWizard | $34.95 | FLAC/ALAC support | Audiophiles |
| Audacity | Free | Manual control | Budget users |
NoteBurner works well for album downloads but costs more. ViWizard and DRmare are similar—main difference is lossless format support.
For free: Audacity works if you’re willing to manually split tracks and add metadata. Tedious, but functional. Check our guide on recording Spotify with Audacity for detailed setup steps.
Protecting Your VODs from Copyright Strikes
Twitch’s copyright detection doesn’t just mute music. It nukes entire 30-second chunks—including your voice and game audio.
I lost a 2.5-hour VOD this way. Video intact, audio destroyed.
How to Separate Audio Tracks
Multi-track recording lets you keep music out of your VOD entirely.
Live viewers hear everything. VODs only get mic + game audio.
Setup in Streamlabs/OBS:
- Settings → Output → Streaming
- Enable multiple audio tracks
- Right-click mixer → Advanced Audio Properties
- Assign mic/game to Track 1
- Assign music to Track 2 only
- In Twitch settings, select Track 1 for VOD audio
This took me 20 minutes to figure out the first time. But once set up, you can stream with any music live without VOD risk.
Catch: This only protects your VOD. Live copyright detection could still theoretically strike you, but it’s rare.
Royalty-Free Music—The Actually Safe Option
Safest approach? Stop using Spotify entirely.
These services are built for streamers. DMCA-safe, good quality, mostly free or cheap.
Best Sources for 2025
| Service | Price | Type | DMCA Safe |
|---|---|---|---|
| Pretzel Rocks | Free | All genres | ✅ |
| StreamBeats | Free | Lo-fi, chill | ✅ |
| Monstercat Gold | $5/mo | Electronic | ✅ |
| Epidemic Sound | $15/mo | Professional | ✅ |
I use StreamBeats for chill streams and Pretzel for variety. Both free, both safe.
Downside: no mainstream pop. But lyric-heavy music usually distracts from commentary anyway.
Warning: Even “DMCA-protected” services like Streamlabs Music aren’t bulletproof. Reddit has cases of strikes despite using licensed music. Licensing is complicated—songs cleared for Twitch might not be cleared for YouTube clips.
Advanced Tips
Spotify “Now Playing” Widget
Two options:
Snip – Free tool that writes current song to a text file. Add as Text Source in Streamlabs.
Amuse – Web widget. Link Spotify account, add as Browser Source.
I stopped using these. Most viewers don’t care, and it’s one more thing to manage. Only worth it for music-focused streams.
Separate Audio Sources
Create individual sources instead of dumping everything into one track:
- Mic
- Game audio
- Music
- Discord (if applicable)
Why: Apply filters independently. I use a Compressor on music to even out volume spikes. EQ filter on mic to cut bass rumble. Noise Gate on Discord to block mechanical keyboard sounds.
Also lets you toggle music on/off per scene.
Troubleshooting
Desktop Audio Shows “Disable”
Fix: Use Application Audio Capture (Beta) instead.
Sources → Add → Application Audio Capture (Beta) → select Spotify.exe
If still broken:
- Enable Stereo Mix in Windows (Sound Settings → Sound Control Panel → Recording)
- Update audio drivers
- Restart Streamlabs
For more technical issues, check our comprehensive troubleshooting guide.
Spotify Audio Not Capturing
Checklist:
- Spotify actually playing?
- App volume not muted?
- Correct device selected in Audio Output Capture?
- Windows default playback device set?
Still broken? Restart Spotify, Streamlabs, then PC.
Spotify Ads
Three options:
Upgrade to Premium – $10.99/month, no ads (but copyright risk remains)
Use Cinch’s ad filter – Record playlists beforehand, filter ads, play local files
Switch to royalty-free – Pretzel, StreamBeats, etc. (safest)
Conclusion
Playing Spotify through Streamlabs works. Use Application Audio Capture (Beta), balance your levels, test before going live.
But copyright risk is real. I’ve had VODs muted. Seen channels lose everything to DMCA strikes. Spotify Premium doesn’t prevent that.
My setup now: Downloaded tracks via Cinch Audio Recorder for specific music needs. StreamBeats or Pretzel for background. Zero copyright stress.
If you’re starting out, go straight to royalty-free music. Save yourself the stress. Level up to Monstercat Gold or Epidemic Sound once your channel grows.
Test your audio setup before going live. Don’t discover mid-stream that viewers can’t hear you.
That’s what works for me. Your setup might behave differently, but these principles should get you most of the way there.
FAQs
Can I play Spotify on Streamlabs without Premium?
Yes, but you’ll deal with audio ads interrupting your stream every few songs, and copyright risks remain the same whether you’re on free or Premium.
Why does my Desktop Audio show “Disable” in Streamlabs?
This is typically a Windows 11 audio driver issue—use Application Audio Capture (Beta) instead, which lets you capture Spotify directly.
Will I get banned for playing Spotify on Twitch?
You won’t get banned immediately, but your VODs may get muted automatically, and you could receive DMCA copyright strikes if rights holders file takedown notices.
How do I separate music audio from my VOD?
Set up multi-track recording in OBS/Streamlabs—assign music to a separate audio track that doesn’t export to your Twitch VOD, keeping only your mic and game sounds.
What’s the safest music option for streaming?
Royalty-free services like Pretzel Rocks, StreamBeats, or Monstercat Gold are the safest and fully licensed for streaming without copyright risk.