Ever spent hours perfecting your video edit, only to realize you can’t use that perfect Spotify track you had in mind?
Yeah.
The problem is Spotify’s DRM protection—it just blocks you from importing tracks into Premiere Pro. Even if you’re paying for Premium. Which feels unfair, honestly.
But here’s the thing: There’s a workaround. Easier than you’d think. I’ll show you the exact method I use to get any Spotify song into my Premiere Pro projects.
In This Article:
Can You Actually Use Spotify Music in Premiere Pro?
What Audio Formats Does Premiere Pro Accept?
Before we dive into solutions, let’s talk formats first.
Premiere Pro is surprisingly flexible with audio files—more than you’d expect.
It supports a wide range of formats:
- MP3 – The most common format, offers a great balance of quality and file size. At 320kbps, it’s virtually indistinguishable from lossless formats to most listeners.
- WAV – Uncompressed, lossless quality. Perfect for professional work where you need maximum audio fidelity and headroom for mixing.
- AAC/M4A – Apple’s preferred format. Good quality at smaller file sizes, especially useful if you’re working in a Mac-based workflow.
- AIFF – Apple’s lossless format, essentially the Mac equivalent of WAV
- AIF, OMF, WMV – Less common but still supported for specific workflows
For most YouTube videos and social media stuff, MP3 at 320kbps hits the sweet spot. For client work or anything going to broadcast, I always go with WAV to keep quality maxed out through the whole editing and export process.

Why Spotify Music Won’t Work Directly (The DRM Problem)
Here’s where things get tricky.
Spotify streams music using the Ogg Vorbis codec wrapped in DRM (Digital Rights Management) encryption. Think of it like a locked container. The music’s inside, but only the Spotify app has the key.
Even if you have Spotify Premium and download songs for “offline listening,” those aren’t real audio files. They’re encrypted cache files stored in a proprietary format that only works within the Spotify app.
You can’t drag them to Premiere Pro. You can’t even play them in VLC or Windows Media Player.
I learned this the hard way on a client project. Spent 20 minutes—maybe longer—searching for the Spotify download folder, only to find gibberish-named cache files that Premiere Pro flat-out refused to recognize.
The error message?
“File format not supported.”
Why does Spotify do this? Copyright protection. They’ve got licensing agreements with record labels that require them to prevent music from being ripped and redistributed. Makes sense from a business standpoint, I guess, but it creates a massive headache for video editors who just want to use music they’re already paying for.
The good news? There’s a legitimate workaround that doesn’t involve sketchy websites or account-risking hacks.
Why You Need a Third-Party Solution (And Which One Works Best)

Understanding Your Options
When I first hit this problem, I tried a bunch of different approaches. Most people go down one of these paths:
- Screen recording with audio capture – Sounds clever, but the quality is terrible. You’re essentially recording your computer’s audio output, which introduces compression artifacts and background noise.
- “Free” online converters – Type “Spotify to MP3” into Google and you’ll find dozens of websites promising free downloads. Most are riddled with malware, pop-up ads, or files that are actually viruses. Avoid.
- API-based converters – Tools that hack into Spotify’s backend to download tracks. These work, but they violate Spotify’s terms of service and can get your account flagged or banned.
- Professional audio recording software – This is the legitimate route. Software that records audio as it plays, capturing exactly what you hear without touching Spotify’s API.
After testing about seven different tools over the past year—maybe eight, actually—some free, some paid, some sketchy—I’ve found that dedicated audio recorders give you better quality and more reliable results in my experience.
No account risk.
Cinch Audio Recorder: The Tool I Actually Use
Full disclosure: After trying NoteBurner, TuneCable, Allavsoft, and a handful of others, I landed on Cinch Audio Recorder. What made me stick with it? Three things, really.
First, it doesn’t mess with Spotify’s API. Some converters try to hack into Spotify’s backend to download tracks directly. This works—sort of—but it’s risky. Spotify can detect unusual activity and flag your account. Cinch uses CAC (Computer Audio Capture) technology, which means it records what’s coming out of your sound card. Think of it like putting a microphone next to your speakers, except digital and lossless.
In my testing, same quality, minimal account risk.
Second, it works with both Free and Premium accounts. If you’re on Spotify Free, Cinch even has a built-in ad filter that automatically detects and removes those annoying 30-second ads between songs. Premium users get uninterrupted recording at the highest quality Spotify offers (320kbps).
Third, the price point makes sense. At $25.99, Cinch sits in a sweet spot. Most premium Spotify converters charge $40-$90. For a one-time purchase—no monthly subscriptions—it’s actually cheaper than two months of Spotify Premium.
What I like about it:
- Records at original quality (up to 320kbps MP3 or lossless WAV)
- Auto-splits tracks and adds ID3 tags
- Silent recording mode – you can mute your speakers
- Saves to multiple formats: MP3, WAV, FLAC, M4A
- No monthly subscriptions
The auto-splitting feature is incredibly useful for me. I can queue up a 2-hour playlist, hit Record, and come back to find all tracks separated with proper metadata.
No manual editing required. It just works.
Quick Comparison
| Feature | Cinch | NoteBurner | TuneCable |
|---|---|---|---|
| Price | $25.99 | $39.95 | $39.95 |
| Audio Quality | 320kbps | 320kbps | 320kbps |
| ID3 Tags | ✅ Auto | ✅ Auto | ✅ Auto |
| Ad Filtering | ✅ | ❌ | ❌ |
| Account Safety | ✅ CAC-based | ⚠️ API-based | ⚠️ API-based |
Download Cinch Audio Recorder
Ready to try it? Cinch offers both Windows and Mac versions:


Both versions have a free trial—3 minutes per track.
Complete Tutorial: Record Spotify Music for Premiere Pro
Let’s get into the actual process. (Prefer watching? Check out the video tutorial on our site.)
Step 1: Download and Install Cinch Audio Recorder
Grab the installer from the link above. Installation is straightforward—double-click the file, follow the prompts.
Hit “Next” a few times. The usual.
System requirements:
- Windows 10/11 or macOS 10.13
- At least 2GB of free disk space
When you first launch Cinch, it’ll ask you to set your default output format and folder. I’d go with:
- Format: MP3 (320kbps)
- Folder: Create a dedicated “Spotify_Projects” folder
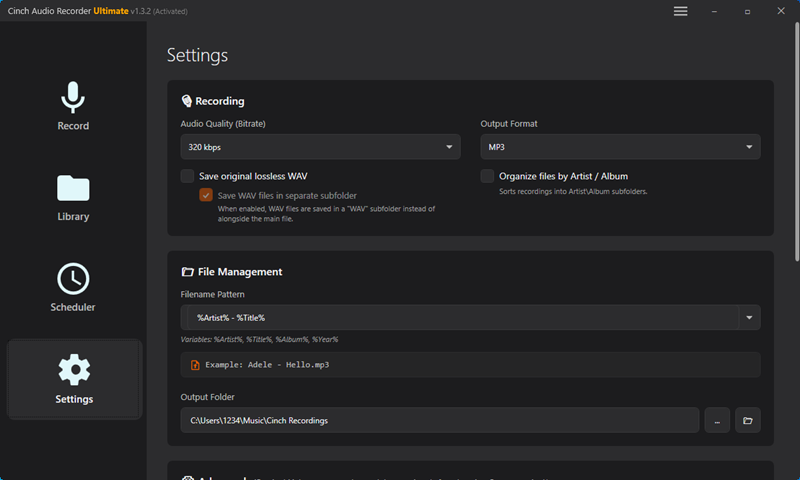
Step 2: Set Up Your Recording Settings
Click the Settings button—gear icon in the bottom-left corner.
Recommended settings:
- Format: MP3
- Bitrate: 320kbps (highest quality)
- Sample Rate: 44.1kHz
- Output Folder: Somewhere easy to find
If you’re working on a high-budget project, go with WAV or FLAC for lossless quality.
Pro tip: Enable “Auto-split tracks” to automatically create separate files.
Otherwise, you’ll get one giant audio file for your entire playlist. Not fun.
Step 3: Record Your Spotify Playlist
- Open Spotify (web player or desktop app)
- Navigate to the playlist or album you want
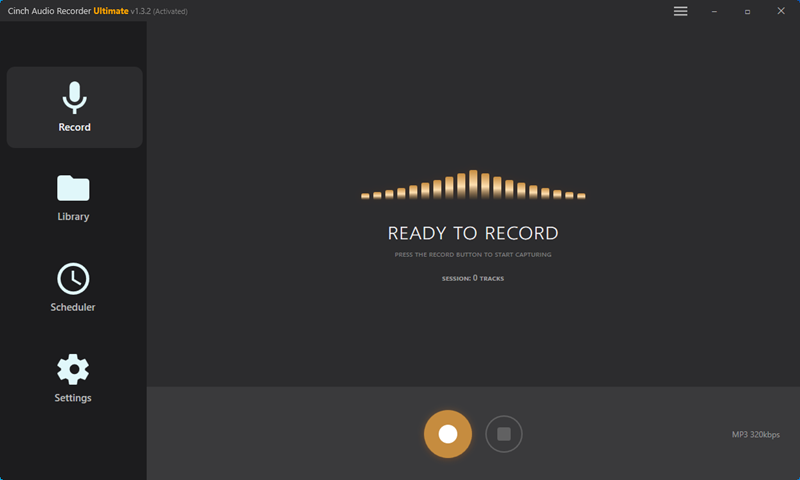
- Go back to Cinch and click the big red Record button
- Switch to Spotify and press Play
That’s it. Cinch is now capturing everything.
Simple.

Keep in mind:
- Keep Spotify’s volume at 100%
- You can mute your system speakers—Cinch captures audio directly from the sound card
- Don’t close Spotify or pause playback
💡 Pro Tip: I usually queue this up before lunch. A 50-song playlist takes about 3 hours to record—maybe a bit less—so I just let it run in the background while I do other work.
Step 4: Find Your Recorded Files
Once recording finishes, head to the Library tab in Cinch. You’ll see all your tracks with album art and metadata.
To find the actual files:
- Right-click any song in the Library
- Select “Open File Location”
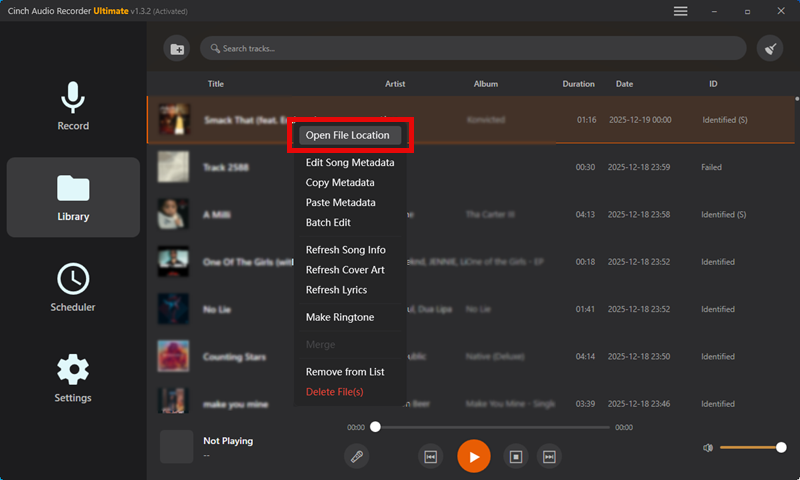
If you recorded using a free Spotify account, click the Filter button in Cinch to automatically remove ad clips.

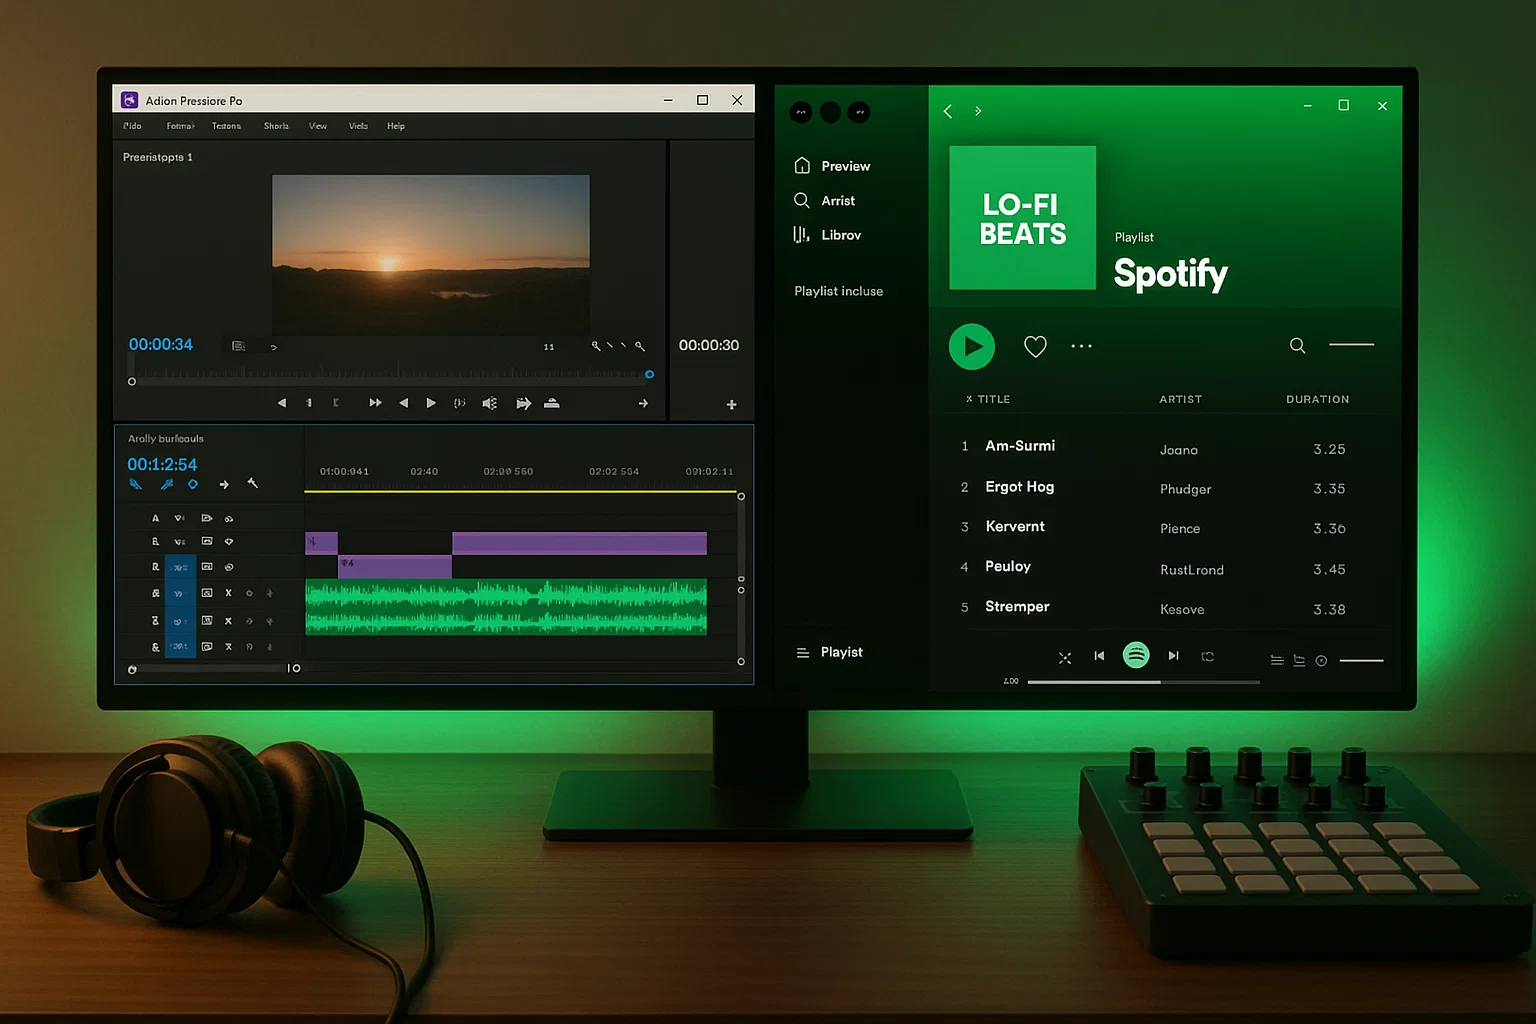
Step 5: Import Spotify Music into Premiere Pro
Open your Premiere project. Here’s the workflow:
Method 1: Media Browser
- Go to Window > Workspaces > Audio
- Open Media Browser: Window > Media Browser
- Navigate to your Cinch output folder
- Right-click and choose Import
Method 2: Drag and Drop (Faster)
- Open file explorer, navigate to Cinch output folder
- Drag MP3s directly into Premiere’s Project panel or Timeline
I usually go with Method 2. Faster for quick edits.
Adding Audio to Timeline:
Double-click the track to preview, then drag it to your Timeline on any audio track (A1, A2, A3).
Adjusting Audio Levels:
- Open Audio Track Mixer: Window > Audio Track Mixer
- Adjust the slider while your sequence plays
- Aim for levels between -6dB and -3dB
For mixing with dialogue, keep music around -12dB to -10dB. Use keyframes to duck it during speech.
🎯 Quick Win: Use Premiere’s Auto Duck feature (in Essential Sound panel) to automatically lower music when dialogue plays. Saves hours of manual keyframing.
Pro Tips: Getting the Best Audio Quality

Audio Format Selection Guide
Not all projects need the same format. Here’s what I use:
For YouTube/social media:
- Use MP3 at 320kbps
- Perfect balance of quality and file size
For professional/client work:
- Use WAV or FLAC
- Lossless quality, better headroom for mixing
For quick edits:
- AAC or M4A work fine
Mistakes I Made (So You Don’t Have To)
1. Recording at low volume Always keep Spotify’s playback volume at maximum. Recording volume is tied to this. Took me a few tries to figure that out.
2. Wrong output folder Organize your recordings by project. Nothing worse than hunting through 300 files. Trust me.
3. Skipping ID3 verification Cinch does a good job auto-tagging, but occasionally it gets artist names wrong. Check it.
4. Forgetting to filter ads If you’re on Spotify Free, use the Filter button. Takes 2 seconds.
⚠️ Important: There’s a difference between recording volume (Spotify’s internal level) and playback volume (your system volume). Cinch captures recording volume, so you can mute speakers entirely and still get perfect recordings.
Pro Workflow Tips That Actually Save Time
Batch recording overnight: Got a big project with a long music wishlist? Queue up 20 songs in a Spotify playlist, hit Record in Cinch before you go to bed, and wake up to a complete library of perfectly tagged MP3s. I do this regularly for wedding videos where couples send me specific song requests.
Create project-specific folders: Instead of dumping everything into one “Spotify Music” folder, organize by project name or client. Future you will thank present you when you’re hunting for that one track six months later.
Use Premiere’s Essential Sound panel: Once your music is in the timeline, right-click the audio track and choose “Edit > Essential Sound Panel,” then tag it as “Music.” Premiere will automatically apply gentle compression and EQ to make it sit better in your mix. Quick way to get professional-sounding audio without manual tweaking.
For more advanced audio workflows, check out our guide on removing DRM from Spotify or learn about Spotify to WAV conversion.
Alternative Approaches and When to Use Them

Royalty-Free Music Libraries vs Spotify
If you’re making content for YouTube, client projects, or anything commercial, Spotify music is technically a gray area. Worth mentioning upfront.
When you should use royalty-free libraries:
- Commercial projects (ads, corporate videos)
- YouTube videos you plan to monetize
- Client work requiring legal clearance
When Spotify recording is fine:
- Personal projects (wedding videos, family vlogs)
- Internal company videos
- Educational content
- Creative portfolios
Popular royalty-free libraries:
| Library | Price | Best For |
|---|---|---|
| Epidemic Sound | $15/month | YouTubers |
| Artlist | $199/year | Filmmakers |
| Soundstripe | $135/year | Budget creators |
I use Epidemic Sound for my YouTube work and Spotify recordings for personal projects.
For more on using different streaming services, see our guide on recording streaming music.
Troubleshooting Common Issues

Audio Not Recording Properly
If Cinch isn’t capturing audio, here’s what worked for me:
Fixes:
- Check your sound card settings
- Verify Spotify isn’t muted
- Try a different output format
- Update audio drivers
If you’re using Bluetooth headphones, that’s often the culprit. Switch to wired headphones for recording.
Poor Audio Quality Issues
If your recordings sound muffled or compressed:
Fixes:
- Increase bitrate to 320kbps in Cinch settings
- Set Spotify’s streaming quality to “Very High”
- Disable Windows “audio enhancements”
Premiere Pro Import Problems
If Premiere refuses to import your files:
Fixes:
- Verify file plays in VLC Media Player
- Check for file corruption
- Re-encode with Handbrake if necessary
- Clear Premiere’s cache: Edit > Preferences > Media Cache > Clean
Conclusion
Getting Spotify music into Premiere Pro is basically a three-click process with the right tool. Record, Import, Edit.
Quick recap:
- Download Cinch Audio Recorder
- Hit Record and play your Spotify playlist
- Import files into Premiere Pro
- Adjust levels (keep music around -6dB to -3dB)
For commercial projects, grab proper licensing through royalty-free libraries. For personal videos? This workflow is solid.
The perfect soundtrack for your next video is just a recording away.
Found this helpful? Share it with fellow video editors who’ve been dealing with the same Spotify-Premiere Pro headache.
FAQs
Q: Can I legally use Spotify music in my Premiere Pro videos?
For personal, non-commercial projects, yes. For commercial use, you need proper licensing. When in doubt, use royalty-free music libraries like Epidemic Sound for anything commercial.
Q: Do I need Spotify Premium to record music for Premiere Pro?
Nope. Cinch works with both Free and Premium accounts. Free accounts have ads, but Cinch’s Filter button automatically removes them.
Q: What’s the best audio format for Premiere Pro from Spotify?
MP3 at 320kbps for most projects. For professional work, use WAV or FLAC for lossless quality.
Q: Will recording Spotify music affect the audio quality?
Not if you do it right. Cinch uses CAC technology to grab audio directly from your sound card at original quality. As long as Spotify is set to “Very High” quality (320kbps) and you record at 320kbps, there’s basically no degradation.
Q: Can I record entire Spotify playlists at once?
Absolutely. Queue up your playlist, hit Record in Cinch, and let it run. Cinch automatically splits tracks and adds metadata. I’ve recorded 50-song playlists overnight. Works great.
📌 Disclaimer: This guide is for educational purposes. Recording Spotify music for personal, non-commercial use is generally acceptable. For commercial projects, always obtain proper licensing or use royalty-free alternatives. Respect copyright laws and Spotify’s Terms of Service.