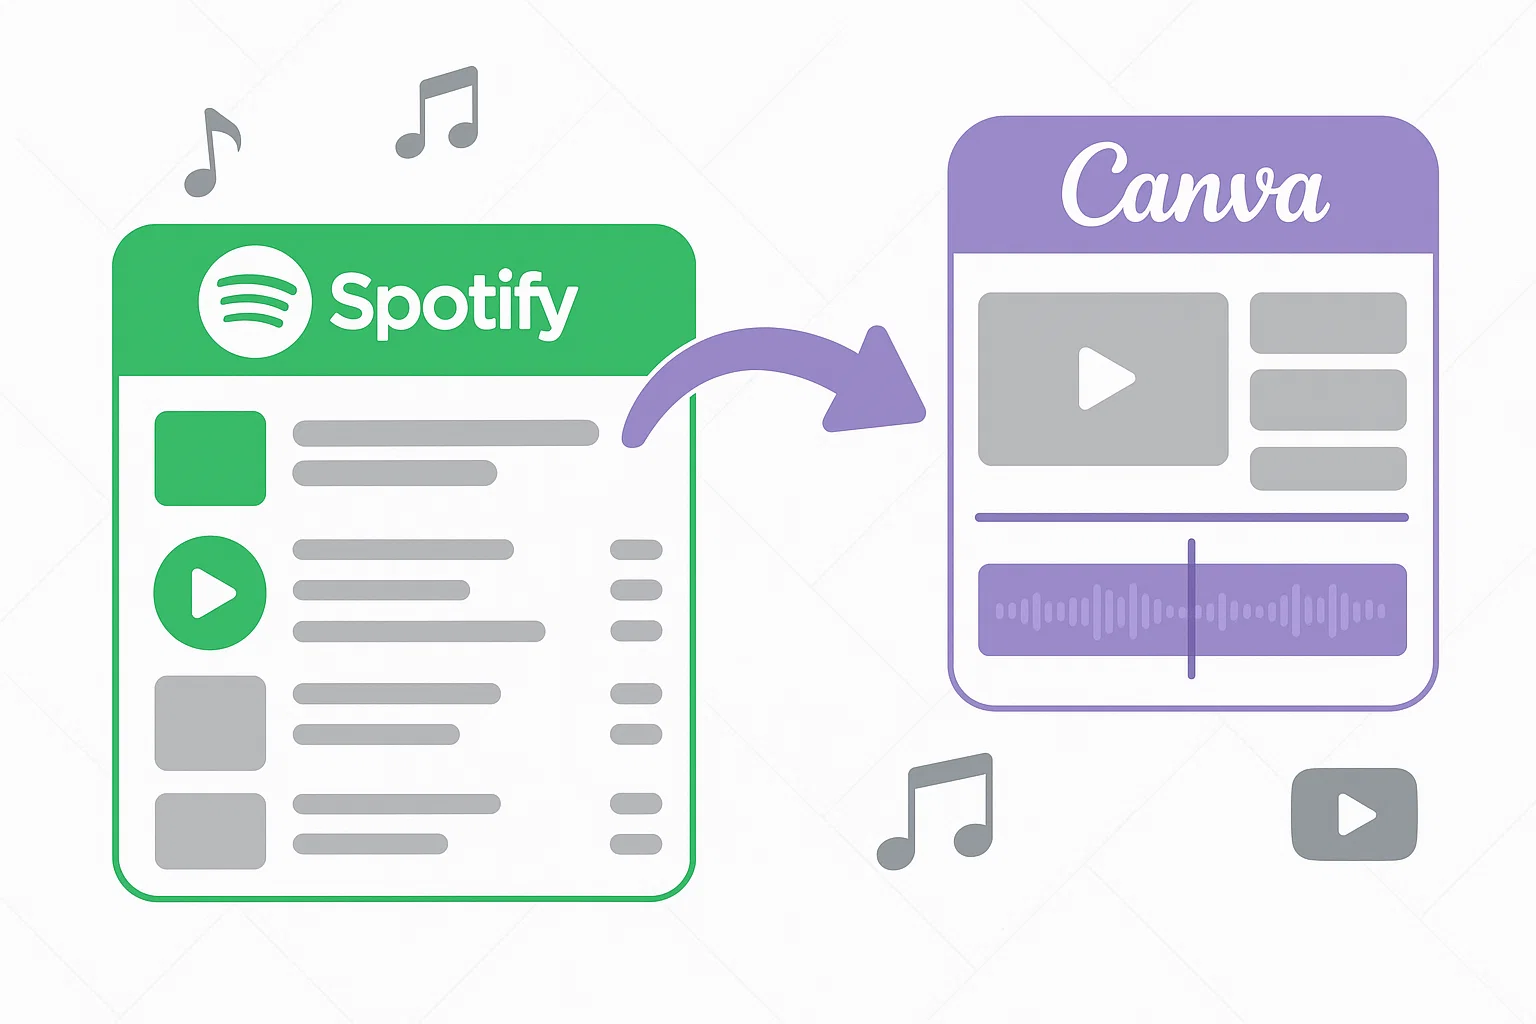
Last month, I was working on a promotional video for a client’s product launch. I had the perfect Spotify track in mind—something that would capture exactly the vibe we were going for. I opened Canva, started building the video, and then hit a wall. There was no “Import from Spotify” button. No drag-and-drop option. Nothing.
I spent the next hour trying different approaches, copying links, searching for workarounds. That’s when I realized most people face this same frustration when trying to add Spotify music to Canva projects.
The good news?
I figured out a reliable solution that actually works, and I’m going to walk you through it step by step.
In This Article:
Why Can’t I Just Drag Spotify Songs Into Canva?
Here’s the deal: I tried this exact thing when I first started using Canva. Spoiler alert—it doesn’t work, and here’s why.
The Real Reason: It’s All About DRM

Spotify uses something called Digital Rights Management (DRM) to protect its music catalog. Think of DRM as a digital bouncer—it only lets authorized apps play the music. Canva isn’t on that VIP list.
When you stream music on Spotify, you’re not actually downloading files to your device. You’re accessing encrypted audio streams that can only be played within Spotify’s controlled environment. It’s like having a key that only works on one specific door.
I remember spending way too much time trying to figure this out when I first started. Trust me, you can’t just grab a song from your Spotify playlist and drop it into your Canva project. If you’re curious about how streaming music actually works behind the scenes, it’s pretty fascinating stuff.
Here’s What Canva Actually Accepts (And What It Doesn’t)
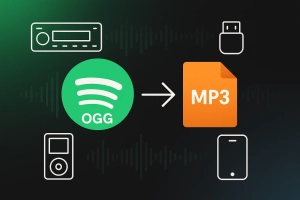
Canva supports specific audio formats: MP3, M4A, OGG, WAV, and WEBM. But here’s something that caught me off guard—Canva has a strict 250MB file size limit for audio uploads.
I learned this the hard way when I tried uploading a 15-minute podcast episode that was 300MB. The upload just sat there… and sat there… until it finally failed. Had to compress the file first. For most songs (3-5 minutes), this isn’t an issue, but it’s definitely something to keep in mind for longer audio content.
The real kicker? Spotify’s files aren’t in any of these formats anyway. They’re in OGG Vorbis with DRM protection, which Canva can’t read even if you somehow got your hands on the files.
The Solution That Actually Works (After Trying Everything Else)
Look, I’ll be honest—I tried about five different methods before finding one that actually works reliably. Some required sketchy software downloads, others wanted me to log into my Spotify account (no thanks), and a few just flat-out didn’t work.
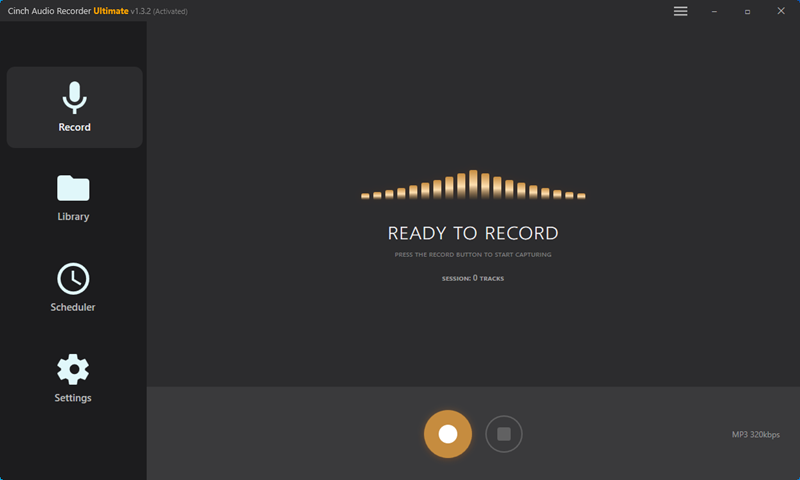
Then I found Cinch Audio Recorder, and honestly? It’s been a game-changer for my workflow.
Why Cinch Audio Recorder Became My Go-To Tool
Cinch Audio Recorder stands out because it doesn’t mess around with Spotify’s API or ask you to log into your personal account. Instead, it uses CAC (Computer Audio Capture) technology to record directly from your computer’s sound card.
Here’s why this approach clicked for me: other tools I tried wanted access to my Spotify account, which felt risky. What if Spotify flags my account? Cinch works more like placing a high-quality microphone near your speakers—it captures the audio as it plays, which is completely safe and legal for personal use.
The best part? It works with any streaming service, not just Spotify. I’ve used it for Apple Music, Amazon Music, even YouTube videos. It’s like having a universal audio recorder for anything playing on your computer.
What Makes Cinch Different (And Why I Stick With It)
After testing it against other solutions, here’s what sold me on Cinch Audio Recorder:
No Account Risks: You don’t have to log into your Spotify account. I’ve heard horror stories of people getting their accounts suspended for using API-based tools.
Works Everywhere: It captures audio from any source—Spotify, Apple Music, YouTube, even that obscure streaming service you discovered last week.
No Technical Headaches: Many competitors require installing VB-CABLE or other virtual sound cards. Cinch just works out of the box.
Smart ID3 Tagging: It automatically grabs song titles, artists, and album artwork. No more manually renaming files or hunting down cover art.
Silent Recording: Here’s a neat trick—you can mute your speakers while recording and the quality stays perfect. Great for late-night recording sessions.
The tool costs $25.99, which initially made me hesitate. But considering it works with multiple streaming platforms and includes bonus features like ringtone creation and ad filtering for free Spotify accounts, it’s actually pretty reasonable. I’ve easily saved that much in time alone.
My Exact Step-by-Step Process (Copy This Workflow)
Here’s the exact workflow I use every time I need Spotify music for Canva:
Step 1: Get Cinch Audio Recorder
First, download the software from the official site. I always recommend getting it directly from the source to avoid any sketchy versions floating around.


Step 2: Configure Your Settings (This Part’s Important)
- Set output format to MP3 (Canva loves this format)
- Choose 320kbps bitrate for maximum quality—trust me, you’ll hear the difference
- Pick an output folder you’ll remember (I use a dedicated “Canva Audio” folder)
Step 3: Start Recording (It’s Surprisingly Simple)
- Click the red Record button in Cinch
- Open Spotify and play your desired track
- Cinch automatically detects when songs start and stop—no babysitting required
Step 4: Check Your Results
- Head to Cinch’s Library tab to see your recorded files
- The software automatically adds ID3 tags with song titles, artists, and album artwork
- Files are immediately ready for upload to Canva
Pro Tip: I usually record 3-4 songs at once while I’m working on other stuff. Cinch runs in the background and automatically separates each track. Super efficient.
Getting Your Music Into Canva (The Easy Part)
Alright, you’ve got your MP3 files ready. Now comes the fun part—actually using them in your Canva projects. This part’s pretty straightforward, but I’ve picked up some tricks that’ll save you time.

My Desktop Workflow (Works Every Time)
I always use Canva’s web interface on desktop because it handles larger files way better than the mobile app. Here’s my exact process:
- Create or open your Canva project (obviously)
- Click “Uploads” in the left sidebar (it’s that little cloud icon)
- Hit “Upload files” and grab your converted MP3s
- Be patient during processing (usually 30-60 seconds per file—perfect time for a coffee refill)
- Find your audio in the “Audio” tab (it’ll be right there waiting for you)
Quick heads up: Canva shows this slightly confusing message saying “Audio files can’t be stored in Projects or Folder.” Don’t panic—your files will still be accessible in the Uploads section of any project. It’s just Canva’s way of saying they don’t organize audio files the same way they do images.
Mobile Device Integration Techniques
The mobile workflow is slightly different but equally effective:
- Transfer your MP3 files to your phone (via cloud storage or USB)
- Open the Canva mobile app
- Tap the three-dot menu and select “Upload files”
- Choose your audio files from your device
- Access them through the “Audio” section
One thing I noticed: the mobile app sometimes struggles with files larger than 100MB, even though Canva’s official limit is 250MB. If you encounter issues, try compressing your audio files first.
Managing Your Audio Library Across Devices
Here’s a workflow tip that’s saved me tons of time: I keep all my converted Spotify music in a dedicated Google Drive folder. This way, I can access the same audio library whether I’m working on desktop or mobile.
I organize files by project or mood (e.g., “Upbeat Commercial,” “Ambient Background,” “Podcast Intros”). This makes it easy to find the right track when I’m working on similar projects later.
Advanced Tips for Professional Results
After using this workflow for dozens of projects, I’ve picked up some techniques that make a real difference in the final output quality.
Audio Quality Optimization Strategies
Not all MP3 files are created equal. Here’s what I’ve learned about maintaining quality:
Bitrate Selection: Always use 320kbps for final projects. I tested 128kbps vs 320kbps in a client video, and the difference was noticeable, especially when played on good speakers.
Format Considerations: While MP3 works great for most projects, I use WAV format for projects where audio quality is critical. The files are larger, but the quality is pristine. For more details on audio formats, see our guide to converting Spotify to WAV.
Volume Normalization: Spotify uses volume normalization, but your converted files might have inconsistent levels. I use Canva’s built-in volume controls to balance audio across different tracks.
Avoiding Common Pitfalls and Troubleshooting
Here are the mistakes I made early on (so you don’t have to):
File Naming Issues: Don’t use special characters in your file names. Canva sometimes has trouble with files named “Song Title (feat. Artist).mp3”. Stick to simple names like “Song_Title_Artist.mp3”.
Upload Timing: Large files can take several minutes to process. I once thought an upload failed and tried again, ending up with duplicate files. Be patient and wait for the green checkmark.
Browser Compatibility: Chrome works best for Canva uploads. I’ve had issues with Safari occasionally failing to upload larger audio files.
Legal Considerations and Best Practices
Let’s be real about the legal side of this. Converting Spotify music for personal use falls into a gray area, but here’s my approach:
- Personal projects only: I only use converted Spotify music for personal videos, presentations, or non-commercial content
- Commercial projects: For client work, I either use Canva’s built-in music library or purchase proper licenses. You can learn more about DRM and music licensing in our detailed guide
- Attribution: Even for personal use, I try to credit the artist when possible
Remember, just because you can convert the music doesn’t mean you have the right to use it commercially. Always check the licensing requirements for your specific use case.
When You Might Want Different Approaches
Look, converting Spotify music isn’t always the answer. Sometimes there are better options depending on what you’re trying to do. Let me break down when I use different approaches:
| Method | Best For | Pros | Cons | My Rating |
|---|---|---|---|---|
| Cinch Audio Recorder | Personal projects, specific songs | ✅ High quality ✅ Any streaming service ✅ No account risks |
❌ Costs $25.99 ❌ Takes time to record |
⭐⭐⭐⭐⭐ |
| Canva’s Built-in Library | Commercial projects, quick videos | ✅ Royalty-free ✅ Instant access ✅ No legal worries |
❌ Limited selection ❌ Generic feel |
⭐⭐⭐⭐ |
| Free Music Libraries | Budget projects | ✅ Completely free ✅ Legal to use |
❌ Very limited ❌ Often low quality |
⭐⭐⭐ |
| Direct Spotify Links | Presentations only | ✅ Super easy ✅ No conversion needed |
❌ Only works in presentations ❌ 30-second previews |
⭐⭐ |
Canva’s Built-in Audio Library vs. Spotify Music
Canva Pro includes access to thousands of royalty-free tracks. For commercial projects, this is often the safer choice. The quality is professional, and you don’t have to worry about licensing issues.
However, Canva’s library can feel generic sometimes. When I need a specific vibe or a trending song that my audience will recognize, converted Spotify music is the way to go.
Cloud Storage Integration Methods
Another approach I use for team projects is storing converted audio in shared cloud folders. This works particularly well when multiple people are working on the same Canva project and need access to the same audio files.
I create shared Dropbox or Google Drive folders with organized audio libraries. Team members can download files as needed and upload them to their individual Canva accounts.
Bottom Line: Is It Worth the Effort?
Honestly? Adding Spotify music to Canva isn’t as plug-and-play as it should be, but once you get the workflow down, it’s totally worth it. Cinch Audio Recorder has become an essential part of my creative toolkit because it just works—reliably, safely, and with great quality.
Here’s the thing: understanding the limitations (both technical and legal) actually makes you a smarter creator. For personal projects, this method opens up endless creative possibilities. For commercial work, stick with proper licensing or Canva’s built-in library.
My advice? Start with a simple project and experiment with the workflow. Once you nail it, you’ll be amazed at how much more engaging your videos become with the perfect soundtrack. Trust me, your audience will notice the difference.
FAQ
Can I use Spotify music in Canva for commercial projects?
Not without proper licensing. Spotify’s terms of service and copyright laws restrict commercial use of their music. For business projects, use Canva’s royalty-free library or purchase appropriate licenses.
What’s the maximum audio file size Canva accepts?
Canva’s limit is 250MB per audio file. Most 3-5 minute songs at 320kbps quality will be around 8-12MB, so this rarely becomes an issue unless you’re working with very long audio content.
Does audio quality decrease when converting from Spotify?
When using proper recording software like Cinch Audio Recorder at 320kbps, the quality loss is minimal and typically not noticeable in most playback scenarios. The key is using the right settings during conversion.
Can I sync my converted music across multiple devices?
Yes, by storing your converted files in cloud storage services like Google Drive or Dropbox. This allows you to access the same audio library whether you’re working on desktop or mobile.
Are there any legal risks in converting Spotify music?
For personal use, the legal risk is minimal. However, commercial use without proper licensing can lead to copyright infringement issues. Always check the licensing requirements for your specific use case.