In This Article:
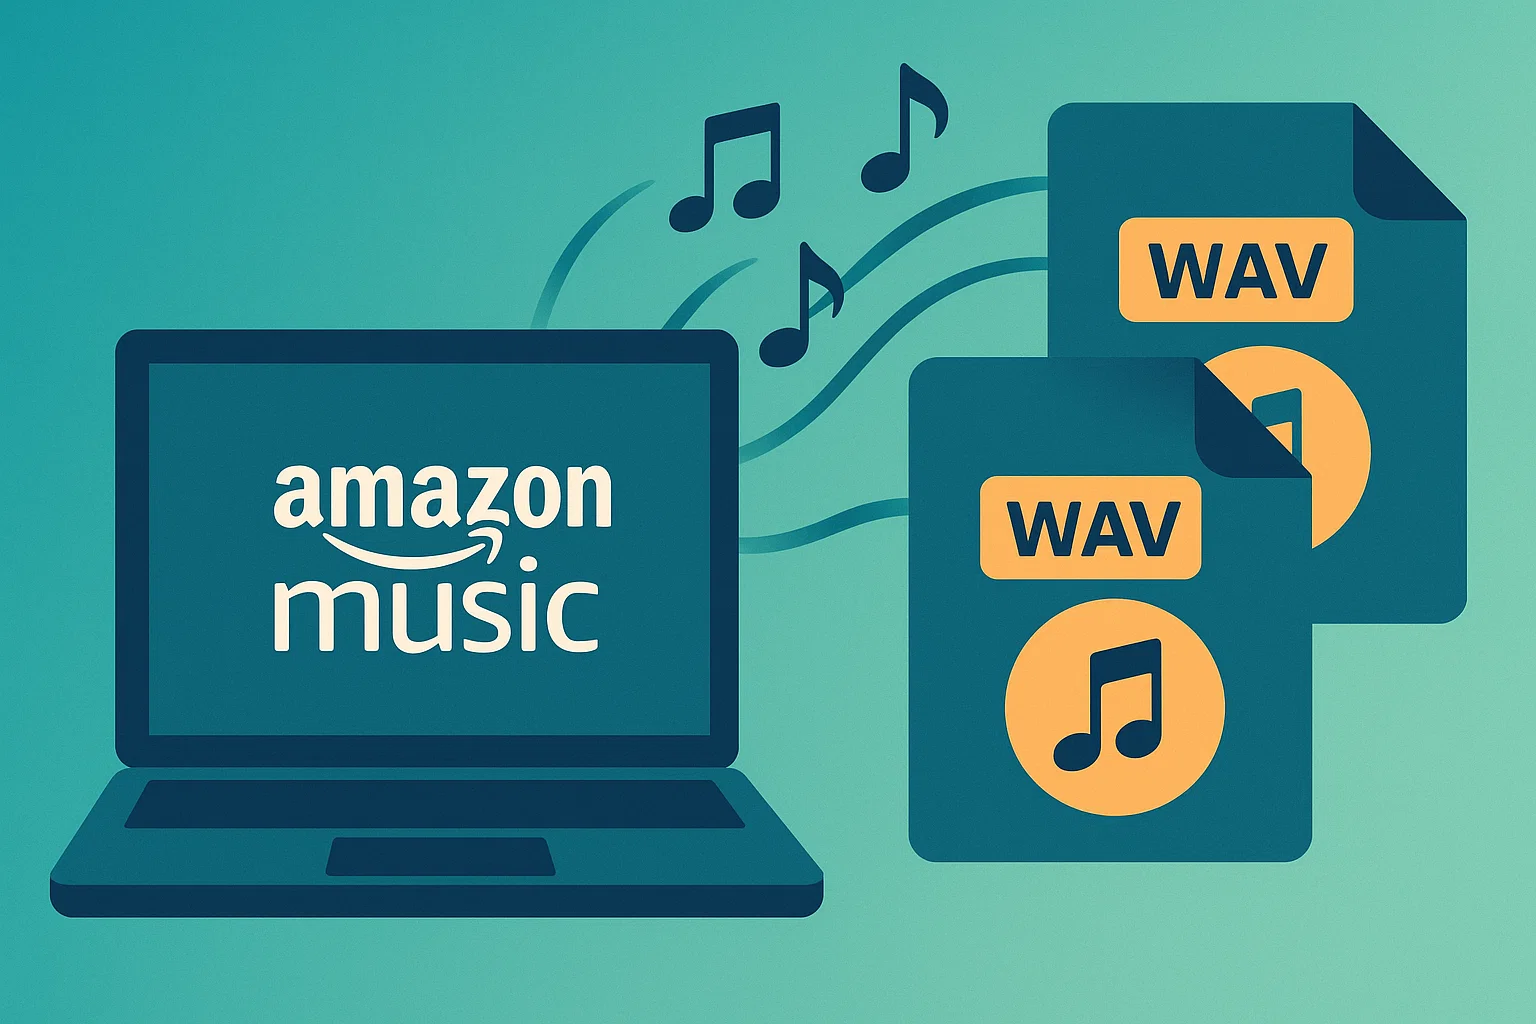
Do You Really Need WAV—and Can Amazon Give It Natively?
Last week a reader emailed me a very specific question: “I need WAV for clean edits in Audacity. Can Amazon just give me WAV?” Short answer—no. Longer answer—here’s what to expect, and what actually works.
WAV is uncompressed, CD‑quality audio (44.1kHz/16‑bit by default) and it’s big. Think ~10MB per minute. Editors and DJs love it because there’s no transcoding penalty and you can slice without artifacts. If you’re mastering a podcast intro or burning a CD for a vintage car stereo, WAV still makes sense. Sometimes it’s overkill. But when you need certainty, it’s nice.
Now the catch: Amazon’s official purchases are delivered as MP3 files. Their streaming catalog (including HD/Ultra HD) is protected with encryption and plays inside the app. That’s straight from Amazon staff responses in the forum—see the official note that purchases are MP3‑only in the Amazon Community thread (Am I able to download purchased music as a .wav?). So there’s no native “download to WAV” button—even if you bought ULTRA HD tracks.
So what do people do? Three paths show up in the real world: use Amazon’s official downloads and live with MP3; use third‑party “converters/recorders” that capture the stream into formats like WAV; or record the audio you’re already playing on your computer in real time. Each option has trade‑offs. I’ll show you what actually holds up in 2025 and how to keep quality intact.
All Viable Paths to Get Amazon Music Into WAV

Let’s lay out the landscape quickly.
First, official options. Amazon lets you purchase tracks and download them as MP3. That’s great for most people, not so great if you specifically need WAV. Streaming “downloads” live as encrypted cache. You can’t just copy out a .wav from there. That’s by design. If you’re new to why services lock streams, skim a primer on what DRM does and why platforms use it—our walkthrough of the basics explains the trade‑offs in simple terms (see What Is DRM?).
Second, the converter market. You’ll see tools like NoteBurner Amazon Music Converter, TuneBoto Amazon Music Converter, and NoteCable Amazie Music Converter—each promises MP3/AAC/WAV/FLAC/ALAC/AIFF output and speed boosts up to 10X. Some even keep ID3 tags and lyrics. In practice, they behave a lot like controlled recorders with quality settings, playlist handling, and format selection. They can work. They also break when Amazon changes the app.
Legal and ethical note: keep usage to personal ownership, time‑shifting, device compatibility, and backup scenarios. Don’t redistribute. If you need hi‑res archival for professional projects, buy a lossless source or rip CDs you own. That’s the clean path.
Third, a recording‑based workflow. Instead of chasing format extraction, you record exactly what your sound card is outputting—bit‑for‑bit from the system mixer. Done right, this avoids transcoding, respects playback, and stays resilient to app updates. The trick is stable input, consistent volume, and clean segmentation by track. If you’re brand‑new to recording from streaming apps, this overview is a helpful head start (Record Amazon Music).
When should you prefer WAV vs. FLAC? Very often, FLAC is the smarter library format because it’s lossless and supports tags better than WAV. But certain hardware, CD burning workflows, and some DJ setups still behave best with WAV. If you bounce between the two, keep a FLAC archive and export WAV only when needed. I do that for short‑term collaboration and CD duplication.
Quick note on editing: if your plan is DAW work (cutting intros, mixing beds, exporting stems), a clean WAV prevents compounding lossy artifacts. If you’re just moving a playlist to a USB stick for casual listening, MP3 or AAC is fine. And if you need a free editor, the official Audacity site has current builds and clear documentation.
Bottom line: if you only need a couple of tracks once in a while, any of these routes can work. If you need stability across app updates, recording‑based tools tend to outlast everything else. I learned this the hard way after a minor update broke an “export” route mid‑project. Recording kept going. That saved the session.
Why I Use a Recording‑Based Approach When Converters Break
Most people start with official options or free tools. That covers casual listening and simple transfers. And honestly, if MP3 is fine for your use, stop here—you’re done. Your workload just got easier.
Here’s where it gets annoying. App versions shift. Device compatibility is weird. Ultra HD behaves differently across outputs. Sharing a clean WAV with a collaborator? Not happening natively. Last month a small Amazon update changed how a playlist queued, and a “converter” failed on track three. I burned two hours debugging before switching to a recorder. It just worked.
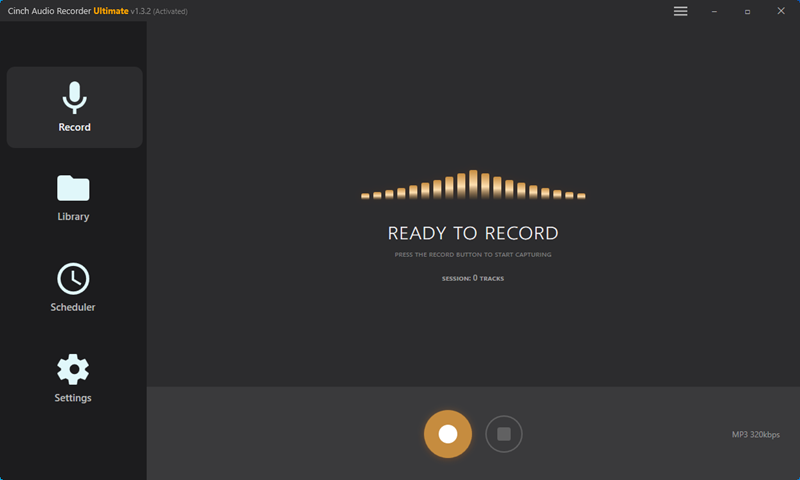
That’s when I brought in Cinch Audio Recorder—not as a replacement for Amazon, more like a backup plan. It hooks into your sound card path and records exactly what’s playing. No drama. You click Record, play the playlist, and it slices tracks with metadata. You can save to lossless WAV when you need it, or smaller formats when you don’t.
My setup process was straightforward: 1) Install Cinch, launch it from the desktop. The official product page is here: Cinch Audio Recorder. 2) In the Record tab, hit the red Record button. 3) Start playback in the Amazon Music app. 4) Let it run; Cinch cuts by track and fills tags automatically.
A few quick tips from actual use:
- Volume matters. Keep the Amazon Music app at a normal or high level; system mute is okay if the app isn’t muted.
- Silent capture is available—handy if you’re working in a quiet space.
- If you’re recording from ad‑supported sources in other contexts, the ad filter saves time.
- Need a ringtone? There’s a lightweight editor to trim and export.
You’ll find files via Library → right‑click a track → Open File Location. For WAV, make sure output is set accordingly before recording. If you prefer smaller lossless, consider FLAC or ALAC for archiving; WAV is perfect when compatibility matters more than tags. If your end goal is an MP3 player that doesn’t like DRM, this guide helps you think through the steps (Amazon Music to MP3 Player).


If converters are your thing, keep a backup list and expect churn. When one breaks, another usually works for a few months. For context and feature expectations, skim the vendor pages we mentioned: NoteBurner’s WAV walkthrough, TuneBoto’s product overview, and NoteCable’s format list. They’re similar on paper; the difference is stability on your machine.
Step‑by‑Step: Convert Amazon Music to WAV

Prep first. Free up storage—a 4‑minute song in WAV is around 40MB. Update the Amazon Music app. Close other apps that might play sounds, just to keep the recording clean. Decide your output folder and naming pattern so the library stays tidy later. If you’re curious why some formats balloon while others don’t, this explainer on WAV vs M4A/FLAC is a quick sanity check (Convert M4A to WAV).
1) Set your output format to WAV. In your recorder’s settings, choose WAV and leave the sample rate at 44.1kHz unless your downstream workflow requires 48kHz. Bit depth at 16‑bit is standard for CD burning and most DAW edits. If you work in a 24‑bit project, you can upsample in the DAW after capture; the important part is avoiding lossy transcodes along the way.
2) Pick a small test playlist. I like three tracks: one loud, one quiet, one with a long fade. Start recording and play the list. Watch the level—peaks around ‑6 dBFS are healthy. If red lights flicker, pull the app volume down a notch. If the first track fades in slowly, that’s normal; you’ll see the waveform glide up.
3) Check segmentation. Most recorders detect track boundaries automatically. If your playlist has crossfade enabled, turn it off; otherwise, two tracks can smear into one file. If you still see merging, add a short pause between tracks during the test.
4) Monitor noise and notifications. System pings and auto‑play ads from other apps can sneak into your file. Close browsers, silence notifications, and turn off “system sounds” temporarily. It’s five minutes well spent.
5) Verify outputs. Open the output folder and check file properties: .wav extension, expected duration, and audible fade‑ins/outs intact. If you need cover art embedded, note that WAV tagging support is limited across players; keep a parallel text file with metadata or export FLAC copies as your “tagged archive.” That’s what I do.
6) Scale up. Once the test looks good, queue the full playlist and let it run. Recording is real‑time. I usually set it up before lunch and come back to a clean batch. If you want a deeper look at the stability/legality conversation on recording vs. downloading, NoteBurner’s write‑up is useful background—even if you don’t use their tool (How to Download Amazon Music to WAV).
If your goal is “portable and universal,” consider exporting a FLAC mirror alongside WAV. FLAC carries tags better and shrinks storage, while WAV stays the compatibility champ for CD burning and certain DJ players. If your mp3‑only car head unit is the bottleneck, convert a few files to MP3 as needed. The key is choosing once, then sticking to a routine you can maintain.
Comparison: What Actually Affects WAV Quality

Supported formats matter less than the capture chain. If the tool writes WAV, you’re good. Ultra HD streams may downshift depending on system output, so don’t obsess over the badge—listen for clicks, dropouts, or limiter pumping. Stability beats theoretical spec. When in doubt, do a 30‑second noise‑only pass and check the waveform. If you see mysterious spikes, something else is making noise.
Speed claims like “10X” help with large playlists, but only if segmentation is reliable and your disk keeps up. I’ve had more issues from small buffer settings than from CPU load. Default settings are fine. Test with a three‑track run before committing a two‑hour session. If you prefer vendor specifics, TuneBoto’s and NoteCable’s pages summarize the same headline features (TuneBoto, NoteCable).
ID3 and lyrics: with WAV, tags are inconsistent across players. If metadata fidelity matters, maintain a companion CSV or keep a FLAC mirror for your library and export WAV only for the workflows that demand it (CD burning, certain DJs, legacy devices). That avoids the “where did my cover go” problem.
Troubleshooting & Pro Tips
Partial tracks usually trace back to notifications stealing focus or app crossfades. Turn off system sounds and crossfade features. Desync between waveform and time counter? It’s often harmless, but reboot the app if it grows over time.
Very quiet captures typically mean the app volume, not the system volume, is too low. Raise the Amazon Music app slider first. You can leave system speakers muted if your recorder taps the sound card directly.
Clicks or pops usually come from CPU spikes or power saving. Disable “CPU throttling” and “sleep” during long sessions. Plug laptops into power. If you’re on Wi‑Fi and see hiccups during Ultra HD playback, try a wired connection for the capture run.
File size vs quality: WAV is great when you need absolute compatibility. For everyday archiving, FLAC keeps quality with smaller files and better tags. I keep both: FLAC as the master, WAV as situational export. You can always generate MP3 later for lightweight devices.
Speed bottlenecks: recording is real‑time by definition. If you need a faster batch, schedule overnight runs. And don’t chase “perfect silence”—a tiny noise floor won’t survive the next mix anyway.
If you hit a hard stop because a converter suddenly fails after an app update, check vendor blogs for an update cycle or switch tools temporarily. NoteBurner and NoteCable maintain active update pages; I bookmark them for quick checks (NoteBurner Amazon Music Tips, NoteCable Amazon Music Tips).
Use Cases & Workflows
DJs/CD burning: export WAV at 44.1kHz/16‑bit, normalize peaks around ‑1 dBFS, and you’re safe. Some DJ players prefer strict file naming and shallow folder depth; keep names short and predictable.
DAW editing: keep a project template with a “music capture” track, a fixed limiter (if needed), and color‑coded markers for start/end. I also keep a “checklist” marker lane: meters OK, crossfade OFF, notifications OFF. It sounds fussy. It saves takes.
Car/TV playback: verify file naming and folder depth; some legacy players choke on long names or more than 8 folder levels. Test with a three‑file sample before copying a 200‑track folder.
Library hygiene: year‑artist‑album‑track pattern keeps things findable. Back up to an external SSD, then mirror to cloud. For USB/SD transfers, test a small subset first. Saves headaches.
FAQs
Can I download purchased tracks as WAV?
Officially, purchases download as MP3. There’s no direct WAV download. Amazon staff confirmed this in the community thread we linked.
Will WAV keep Ultra HD quality?
You preserve what your playback chain outputs. In many setups, that’s effectively CD‑quality. If your device downmixes, WAV won’t recreate what wasn’t there.
How do I keep metadata/cover art with WAV?
WAV tagging is inconsistent. Keep a FLAC mirror or a companion CSV for tags. Export WAV only where compatibility is the priority.
Is conversion legal for personal use?
Keep it to personal backup and device compatibility. Don’t redistribute. For hi‑res masters, buy lossless sources or rip CDs you own.
Conclusion
That’s the workable path: accept Amazon’s limits, then pick a method that won’t break on update day. I lean on recording when I can’t afford surprises. It’s predictable. If you only need MP3, the official route is faster. If you need clean edits or CD burns, capture to WAV and move on.
Quick next step: set up a 15‑minute test run—three tracks, WAV output, and a folder structure you’ll actually maintain. If that feels smooth, scale it to your whole playlist. If you’re new to recording from streaming apps, start here for a concise walk‑through (Record Amazon Music).