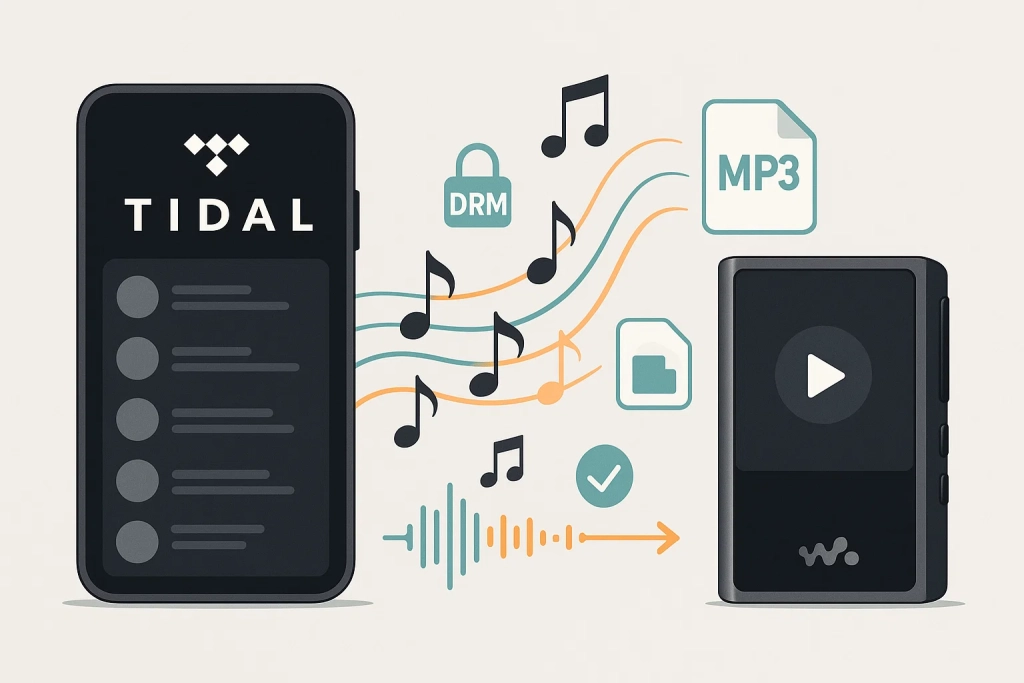
Last month, I was prepping for a road trip when I hit a frustrating wall. I’d spent hours building the perfect Tidal playlist—everything from classic rock to chill electronic beats. The plan? Transfer it all to a USB drive for my car’s stereo system.
That’s when reality hit me. Tidal’s “offline downloads”? They’re locked to the app. Those files sitting on my phone? Encrypted and useless anywhere else.
Turns out, getting Tidal music onto a USB drive isn’t as straightforward as I thought. But after testing a few methods, I found a workaround that actually works—and I’m going to walk you through it.
In This Article:
Why Tidal’s Download Feature Won’t Work for USB
If you’re new to Tidal’s limitations, this might surprise you. Yeah, the platform has offline downloads—but they’re not the kind you can actually move around.
How Tidal’s Offline Download Actually Works
The music gets saved to your mobile device (iOS or Android only). But instead of creating a standard MP3 or FLAC file, Tidal wraps everything in an encrypted format. These files are locked to your specific device and account.
Want to play them elsewhere? Can’t do it. The desktop and web players don’t even have a download option—streaming only.
This isn’t a bug. It’s intentional.
The DRM Protection Problem
Tidal uses Digital Rights Management (DRM) to protect artists’ content from piracy. Even if you locate those downloaded files on your phone, they’re encrypted and useless outside the Tidal app.
Most streaming platforms work this way—Spotify, Apple Music, same deal.
From a legal standpoint, bypassing DRM is… complicated. For personal use? Probably fine in most countries. Commercial use or sharing files? Definitely illegal. I’m not a lawyer, but that’s the general consensus.
What This Means for USB Transfer
Bottom line: if you want Tidal music on a USB drive that actually plays in your car stereo, DJ controller, or portable speaker, you need unprotected audio files.
Standard formats your devices can read:
- MP3 (most universal)
- WAV (uncompressed, huge files)
- FLAC (lossless compression)
- M4A/AAC (Apple-friendly)
- AIFF (less common but high quality)
Getting these formats from Tidal requires third-party tools. Some download music directly from Tidal’s servers. Others record the audio as it plays.
I’ll cover both approaches, but spoiler: I prefer recording. Safer for your account. Fewer headaches.
What You’ll Need to Transfer Tidal to USB
Before diving into the how-to, let’s make sure you’ve got everything ready.
Computer: Windows 7 or macOS 10.13
Tidal Subscription: Any tier works—Free, Premium, HiFi. Your subscription level just determines the max quality you can capture.
USB Flash Drive: Size depends on your format choice.
- MP3 at 320kbps: 16GB fits roughly 3,000-4,000 tracks
- Lossless (FLAC/WAV): Same 16GB? Maybe 300-400 songs
If you’re building a serious library, grab 64GB or bigger. They’re cheap now anyway.
Audio Recording Tool: Several options out there. I’ll show you what I use, plus alternatives if you want to explore.
Recording Tidal Music with Cinch Audio Recorder
Most people look for “Tidal downloaders” that rip music directly from servers. Those tools exist, I won’t lie. But they often violate Tidal’s Terms of Service. I’ve seen Reddit posts from users who got their accounts suspended.
I actually tried one last year. Worked great for maybe two weeks? Then Tidal pushed an update and it just… stopped. Not ideal when you’re trying to prep music for a road trip.
Why Recording Works Better
Download-based tools have problems:
- Tidal blocks many with server updates
- Your account could get flagged for unusual activity
- Some sneak in adware or hidden subscriptions
- Quality can be inconsistent
Recording tools work differently—they capture audio as it plays, like a digital recorder. That’s where Cinch Audio Recorder comes in.
Here’s why this approach clicked for me:
Account safety: From Tidal’s perspective, you’re just listening to music. No weird API calls. No server scraping. Just normal playback. They don’t care.
Quality control: You capture exactly what you stream—up to your subscription’s max quality. HiFi subscription? You get HiFi recordings.
Flexibility: Works with Tidal, Spotify, YouTube Music, SoundCloud—basically any audio your computer can play. One tool for everything.
One-time payment: $25.99, done. No monthly fees.
How I Actually Use Cinch Audio Recorder
Let me walk you through my setup. Takes maybe 10 minutes the first time, then it’s stupid simple.
Step 1: Download and Install
Downloaded Cinch from their official site. Installation was quick—maybe 2 minutes? No bundled crap, no toolbar nonsense. Just the app.
You can download it here:


Step 2: Configure Output Settings
Before recording, click into Settings:
Format: I use MP3 at 320kbps for car use. For DJ sets, start with WAV or FLAC—you can compress later, but can’t add back lost quality.
Output Location: Create a dedicated folder. My C drive filled up fast the first time, so I use a separate drive now.
Auto-Split: Turn this on. I forgot once and got a 2-hour single file. Splitting manually was painful.

Pro tip: Choose FLAC if you want maximum quality and can convert later. Can’t upgrade from MP3 afterward.
Step 3: Start Recording
- Click the red Record button in Cinch
- Open Tidal (desktop app or web player)
- Hit play on your playlist
- Let it run in the background
Mistake I made: I recorded 30 songs in FLAC before checking Tidal’s streaming quality. It was set to “Normal” (160kbps). FLAC files were huge but sounded mediocre. Check Settings → Streaming Quality first—set it to High or HiFi.
Step 4: Auto-Tagging
Cinch automatically grabs song info—titles, artists, album art—and embeds it into each file. No manual work.
Accuracy’s about 95%. Occasionally mislabels obscure remixes, but you can fix those in the built-in editor.
Step 5: Transfer to USB
Once recording finishes, open that output folder you set earlier. You’ll see all your tracks, nicely separated and labeled.
From there:
- Select the files (Ctrl A on Windows, Cmd A on Mac grabs everything)
- Copy them (Ctrl C / Cmd C)
- Open your USB drive
- Paste (Ctrl V / Cmd V)
For about 50 songs at 320kbps MP3, figure 5-10 minutes for the copy process depending on your USB speed.
What I Like About Cinch
Set and forget: Hit record, walk away. It handles track splitting and tagging automatically.
Silent operation: You can mute your system volume—Cinch still records perfectly. Great for working while music processes in the background.
No subscriptions: Pay once ($25.99), use forever. Compared to $10-15/month tools, it pays for itself fast.
One downside: recording happens in real-time. 200 songs = 10 hours (you don’t need to babysit it though). Trade-off for peace of mind.
Alternative Tools: Tidal Music Converters
If you’re willing to take the risk of download-based tools despite what I mentioned earlier, here are the most popular options. I’m including these for completeness, but use them at your own discretion.
Quick Comparison
| Tool | Type | Quality | Speed | Price | Account Risk |
|---|---|---|---|---|---|
| Cinch Audio Recorder | Recording | Lossless | Real-time | $25.99 (one-time) | ✅ Low |
| Tidabie | Download | HiFi/Master | 10x | ~$40/year | ⚠️ Medium |
| NoteBurner | Download | HiFi | 10x | ~$40/year | ⚠️ Medium |
| TuneCable | Download | HiFi | 10x | ~$15/month | ⚠️ Medium |
How Download-Based Tools Work
They intercept data between Tidal’s servers and your device, convert it to standard formats, save it.
The catch? Tidal’s not stupid. They detect unusual patterns. I’ve seen Reddit threads about account locks after grabbing 300 albums in one go.
My Recommendation
If you still want to try download tools:
- Start small—test with one playlist first
- Space things out (50 tracks today, 50 tomorrow)
- Use a unique password for your Tidal account
- Check recent reviews to make sure the tool still works
Personally? I stick with Cinch. Slower, sure. But no suspension worries.
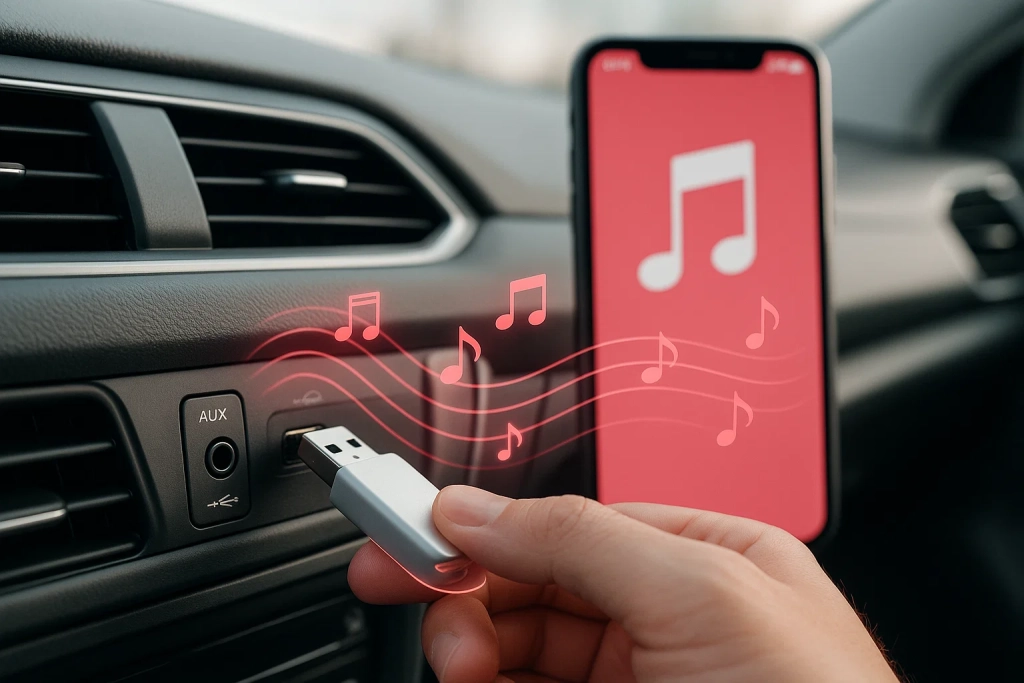
How to Actually Transfer Music to Your USB Drive

Got your music files ready? Great. Now let’s get them onto that USB drive in a way that actually works with your car stereo or DJ gear.
Formatting Your USB for Maximum Compatibility
USB file systems matter more than you’d think.
FAT32: Works with basically any car made after 2005. The gotcha? 4GB file size limit. I found this out the hard way trying to copy a 2-hour DJ mix. Failed halfway through. Not fun.
exFAT: What I use now. Works with most cars from 2016 (some 2014-2015 models work too). No practical file size limits—I’ve moved 8GB files no problem.
NTFS: Don’t bother for car use. My 2018 Honda couldn’t read it. Wasted 20 minutes before I figured that out.
How to format:
- Windows: Right-click drive → Format → Choose exFAT
- Mac: Disk Utility → Erase → Choose exFAT
Warning: Formatting erases the drive. Back up first.
Copying Files to USB
Once your drive is properly formatted:
- Open the folder where your converted music lives (your Cinch output folder or wherever your tool saved files)
- Select tracks—Ctrl A (Windows) or Cmd A (Mac) grabs everything
- Copy them—Ctrl C or Cmd C
- Open your USB drive in a new window
- Paste—Ctrl V or Cmd V
- Wait for the transfer to finish
For about 10GB of music on a USB 3.0 drive, expect 5-10 minutes. USB 2.0? Could take 20-30 minutes or more.
Organizing Music on Your USB
Most car stereos play files alphabetically by filename. Learned this when my perfectly arranged playlist played in chaos.
Fix: Add track numbers to filenames. 01_Song Title.mp3, 02_Next Song.mp3, etc.
Create folders by artist or genre. Keep names short—some car displays truncate long text.
Choosing the Right Audio Format for Your Device
Not all audio formats work everywhere. Here’s what actually matters based on where you’ll play the music.
For Car USB Players
MP3 at 320kbps: My go-to for car use. Tested on five different vehicles—works every time. Road noise masks the quality difference from lossless anyway.
M4A/AAC: Better quality than MP3, works on newer cars (2015 ) and Apple CarPlay. But test first—my friend’s 2016 VW couldn’t play M4A files.
Pro tip: Before converting 200 songs, test ONE file in your car first. Saves hours of re-converting later.
For DJ Equipment
WAV: The professional standard. I use it for club gigs. Downside? Older CDJ-2000s (pre-NXS2) won’t show track names. Just “Track01.wav.” Makes browsing painful.
FLAC: What I switched to. Same quality as WAV, half the size. Works perfectly on Rekordbox and newer Pioneer gear (CDJ-2000NXS2 and up). Older stuff? Stick with WAV.
Critical lesson: Always test on your actual gear first. I assumed a venue’s CDJ-900s would handle FLAC. Wrong. Spent the night before re-exporting 80 tracks as WAV. Don’t be me.
For Portable Players
MP3/AAC: Best compatibility. FLAC: Only if your player specifically supports it.
Troubleshooting Common Issues
Things don’t always go smoothly. Here are the problems I’ve run into (or helped friends fix) and how to solve them.
USB Not Recognized
Check file system. Reformat to exFAT or FAT32 if needed. Some older cars only work with USB 2.0 drives or 32GB max capacity.
No Track Info Shows
Metadata’s probably missing or corrupted. Download Mp3tag (free) and add the tags manually.
Or—if you’re on an older stereo—it might just ignore metadata entirely. Some systems only display filenames. In that case, make your filenames descriptive.
Quality Sounds Off
Check your bitrate—anything below 256kbps sounds worse, especially with bass-heavy music. I learned this recording techno at 192kbps. Muddy kick drums.
Also verify Tidal’s streaming quality (Settings → Streaming Quality). If it says “Normal,” you’re getting 160kbps even if recording as FLAC.
Slow Copying
Upgrade to USB 3.0. Try rear USB ports. Close cloud sync programs.
“File Too Large” Error
USB is FAT32 (4GB limit). Reformat to exFAT or use MP3 instead of lossless.
Wrong Playback Order
Add track numbers to filenames: 01_Song.mp3, 02_Song.mp3.
Conclusion
Getting Tidal music onto a USB drive isn’t as plug-and-play as it should be, thanks to DRM protection. But once you understand the process—whether you use Cinch Audio Recorder or another tool—it becomes pretty routine.
The recording approach has worked best for me. Yeah, it’s slower than download tools—I won’t sugarcoat that. But my account’s still alive after a year, quality matches what I stream, and I don’t stress about ban risks.
One last thing: test your USB format before dumping your entire library on it. I once spent 3 hours copying 50GB of FLAC files to an NTFS drive. Plugged it into my car. Nothing. Car couldn’t read NTFS. Started over with exFAT.
Fun Saturday.
If you run into issues I didn’t cover here, feel free to reach out or leave a comment. Always happy to help troubleshoot.
FAQs
Can I transfer Tidal’s downloaded songs directly to USB?
No. Tidal’s offline downloads are encrypted DRM-protected files that only work within the Tidal app on the device they were downloaded to. They won’t play on USB drives, car stereos, or other devices. To get Tidal music onto a USB drive, you’ll need to use a recording or conversion tool to create standard audio files first.
What audio format should I use for my car’s USB player?
MP3 at 320kbps is your safest bet—it works on virtually every car stereo manufactured in the last 20 years and offers excellent quality. If you have a newer car (2015 or later), M4A/AAC also works well and can provide slightly better quality at the same file size. Avoid FLAC and WAV for car use unless your owner’s manual specifically lists them as supported formats.
Is it legal to download Tidal music with third-party tools?
Technically, using third-party tools to download or record Tidal music violates Tidal’s Terms of Service. However, recording music for personal, non-commercial use falls into a legal gray area in many countries under fair use or private copying exceptions. Commercial use, sharing, or redistributing downloaded content is definitely illegal. Use these tools at your own risk and only for personal listening.
Do I need Tidal HiFi or Premium to transfer music to USB?
No, any Tidal subscription tier works, including the free plan. Your subscription level only determines the maximum audio quality you can record or convert. HiFi gives you lossless quality (up to 1411kbps FLAC), Premium gives you high quality (320kbps), and the Free tier provides standard quality (160kbps). All tiers allow you to play and record music.
Will the recorded audio quality match what I stream on Tidal?
Yes, with recording tools like Cinch Audio Recorder, you capture exactly what your Tidal subscription allows. If you have HiFi and stream in lossless quality, your recordings will be lossless. Make sure to check your Tidal streaming quality settings (Settings → Streaming Quality) before recording to ensure you’re capturing at your subscription’s maximum quality level.